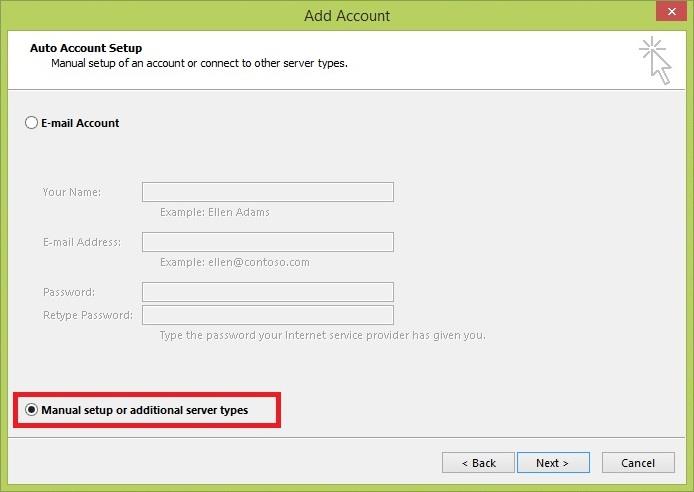
Step 1 – Choose “Manual setup or additional server types” and click “Next”.
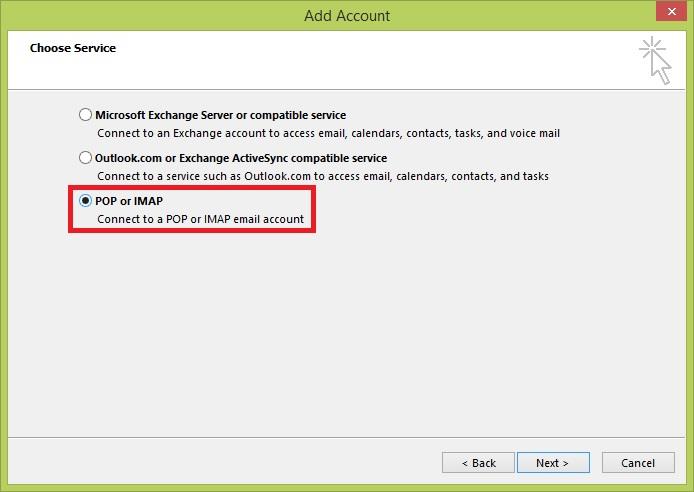
Step 2 – Select “POP or IMAP” and click “Next”.
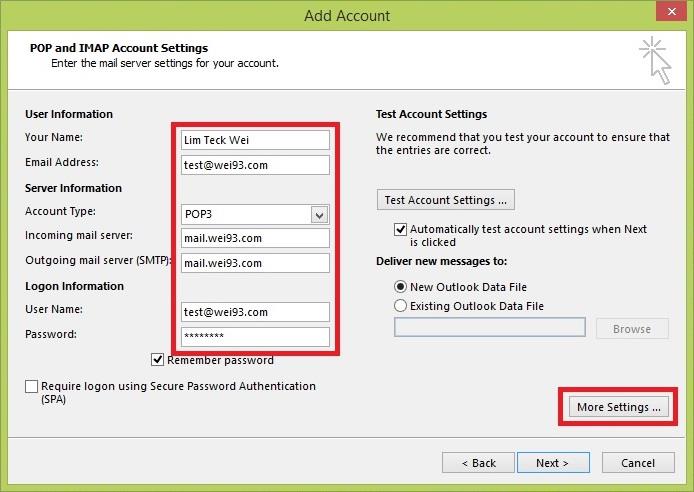
Step 3 – Fill in the various fields as follows:
Your Name: Whatever name you want to appear on your Emails
E-Mail Address: your full email address
Account Type: POP3
Incoming mail server: mail.your-domainname.com
Outgoing mail server (SMTP): mail.your-domainname.com
User Name: your full email address
Password: the password you assigned to the email account when you created it
Click on “More settings” after you have filled up the blanks.
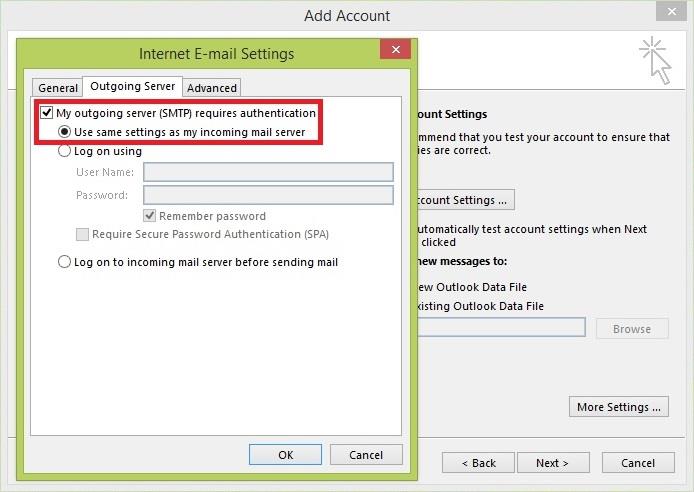
Step 4 – Click “Outgoing Server” tab and tick “My outgoing server (SMPT) requires authentication”.
Step 5 – Click “Advanced” tab. Your Incoming server (POP3) number and Outgoing server (SMTP) number are 110 and 587 respectively.

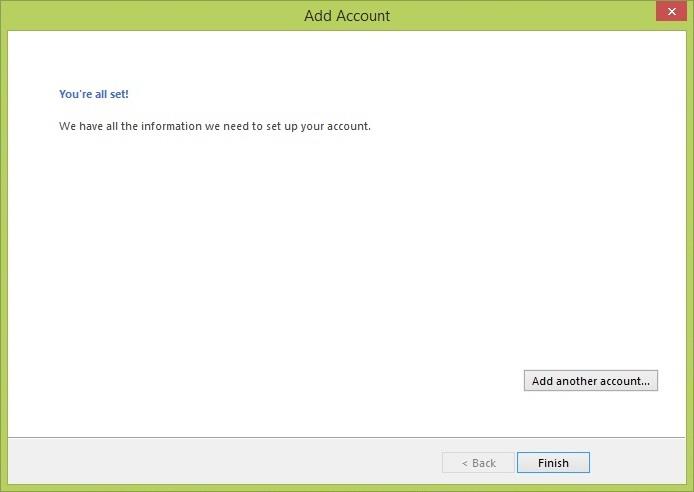
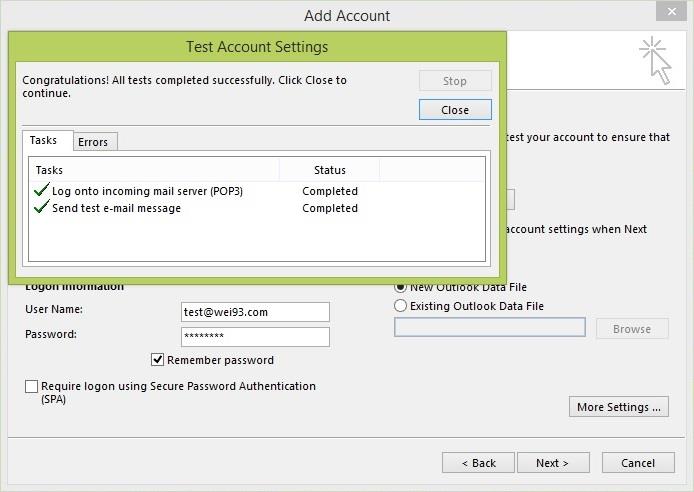
Step 7 – Outlook will now test your email settings and connections. If you have performed step 1 to 6 correctly, you should see “Completed” for “Status”. Click “Close”.
Step 8 – Outlook 2013 is now ready to receive emails from your web mail server. Click “Finish” to start using Outlook for your emails.